Note: Our donut crayons were featured (with much controversy!) at Apartment Therapy on May 23, 2012!
Donut-Shaped Crayons. I'm calling this "Use #2" in our "Five 101 New Uses For Your Donut Pans" series. So fun to make, fun to hold and draw with, REALLY pretty to look at. You can see our first "use" for the pans, Cornbread Cocktail Donuts, by clicking here, by the way.
You probably were living under a rock if you didn't catch on to the melting-old-crayons-into-new-crayons trend that was sweeping the interwebs around Valentine's Day. There were a lot of super cute heart shaped crayons floating around a few months ago.
I tucked that idea away, and the other day when Stella and I were riffing on other uses for our single-use donut pans, I remembered it. And now here we are.
I wish I could credit someone specific for these instructions, but they mostly come from common sense. Plus, there are literally hundreds of tutorials out there for melting crayons, and they are all basically the same. It's easy, kids love it, have fun with it!
Preheat your oven to 250 degrees and grab your donut pans. We ran out of patience before also filling our silicone madeline pan, but those would've been pretty. Grab your bucket of spare and old crayons, and start peeling!
They both worked really hard, then they both got "really tired".
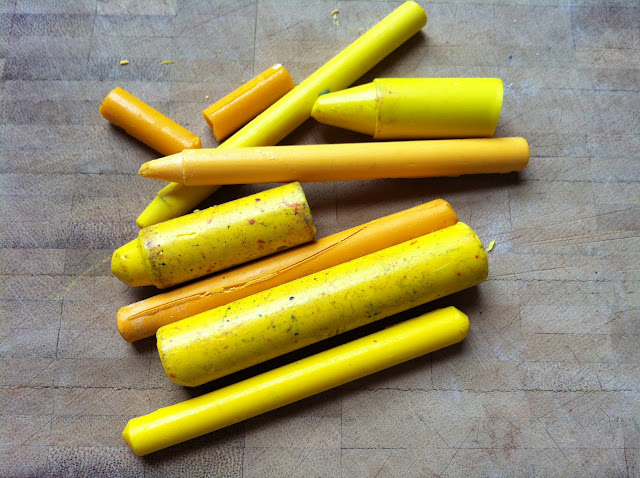
Next, gather your color combos and chop 'em up.
The chopping was very gratifying to me.
I used a beater of a cutting board. With very hot water almost all the wax comes
off, but be careful.
Fill the donut pans. Stella and Oliver loved this part, of course.
Put the pans in the oven and "bake" for 13-15 minutes, until donuts are just smooth at the top. They will keep melting when they come out of the oven. Move them gently to keep as much of the color variegated as possible, if you made your donuts multi-colored.
Note: All the chunks of color have dropped to the bottom.
Don't be alarmed if they look like this when you take them out.
Set the pan on a cooling rack for about fifteen minutes. After that, I set the pan in the freezer for five minutes to let the metal shrink away from the wax.
When you are ready to flip the donuts out of the pan, some will fall out, some will need a little coaxing. Ours were strong enough to handle a few whacks of the pan on the counter.
We broke a few in half, they seem to draw better that way.
Love these donut pans. As soon as it warms up here (we're in a very cold spell right now), we'll finish our next installation of "101 Uses For Your Donut Pans". So, stay tuned!


Oh how fun, Tiffanie!! I think this was one of my favorite posts so far! Well done guys!
ReplyDeleteThis might be one of the only posts I've done that didn't include booze! :)
DeleteThank you, it was super fun. I'm trying out a REAL CAMERA I am going to buy from a friend. The top photo was taken with it. Can you imagine this blog without crappy iPhone shots? I might rule the world!
Haha can't wait to see the difference! By the way, as to the snarky comments on Apartment Therapy, they're just thoroughly jealous. And if they're worried that their kids took after them and aren't smart enough to figure out that crayons are for coloring not for eating no matter what shape they come in. I say well done, you rocked it. (:
DeleteThanks for the support, LT! What a crazy day yesterday on AT! :)
Deleteoh the colours, simply marvellous! what fun!
ReplyDeleteThank you, Lola! :)
DeleteI think I want to eat those! So cool!!! Must have been fun for the kids!
ReplyDeleteReally fun, still are! :)
Delete