


Here's what I did.
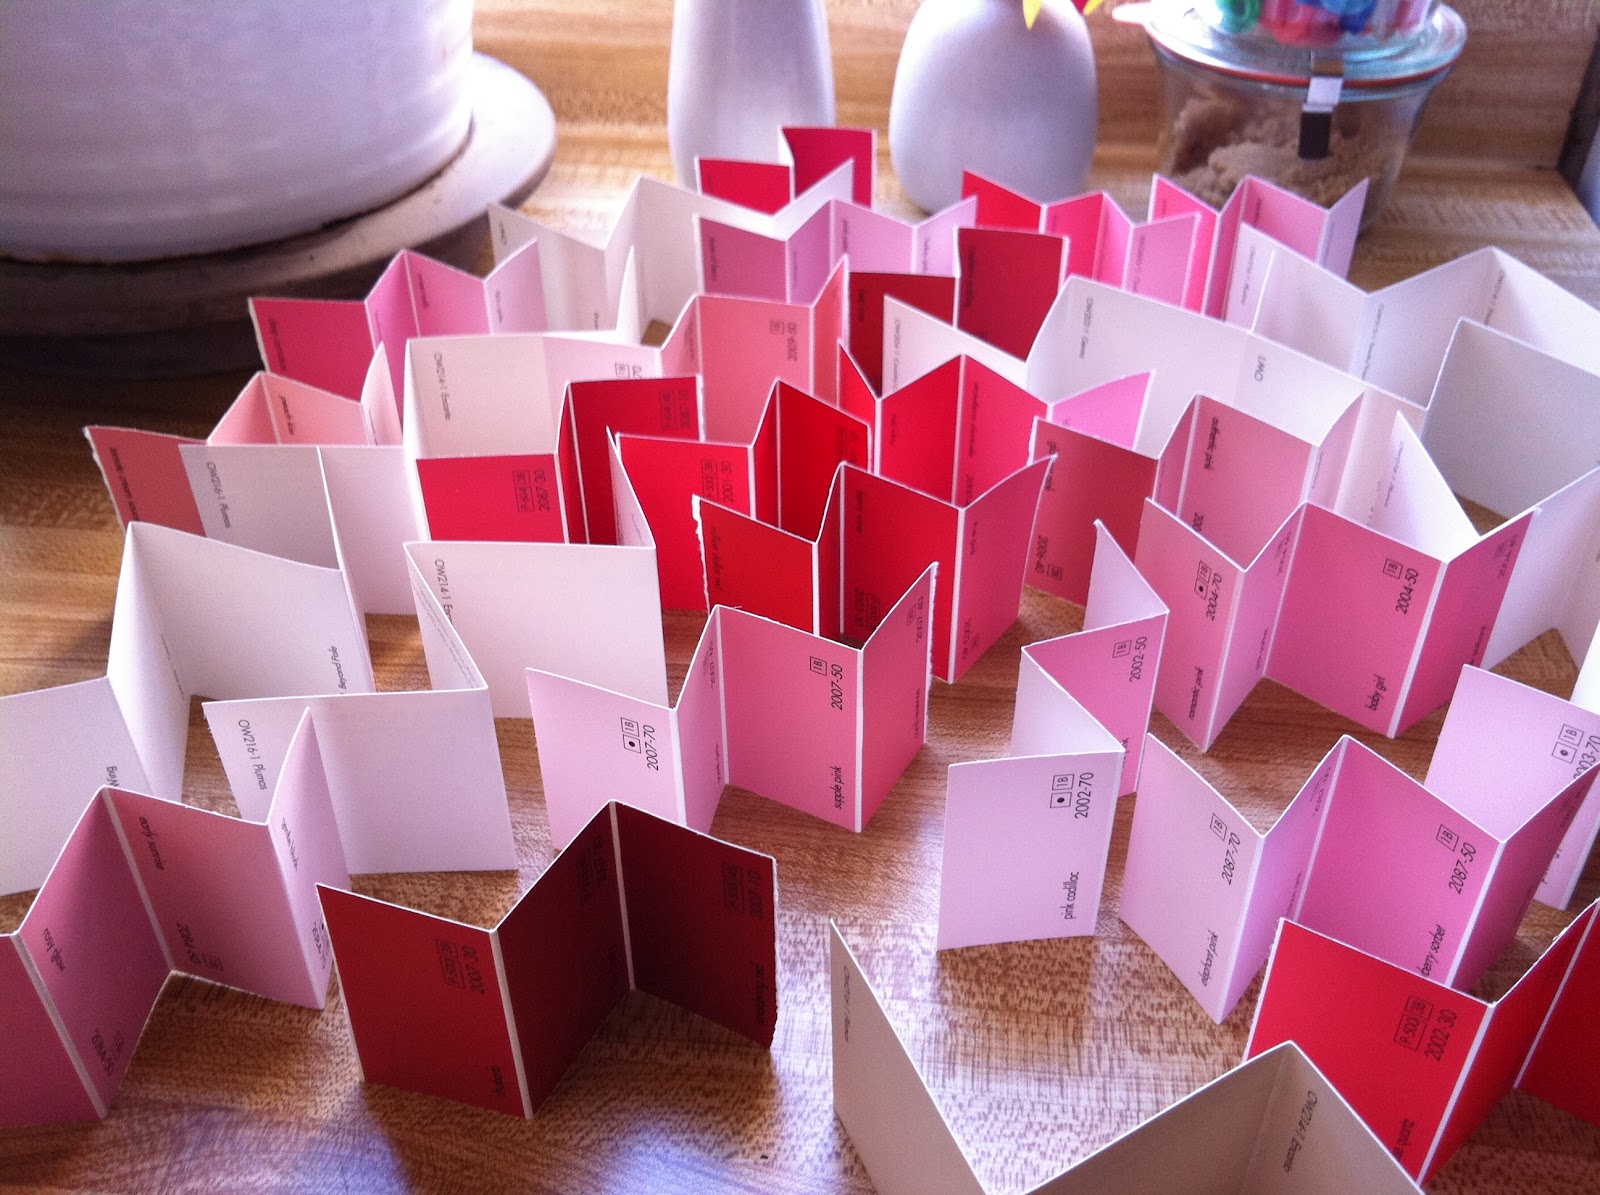
I took individual sample strips and strips I tore out of the fans, shortened them into three or four-chip-long segments, and folded accordion style. Be sure that there is a front of a chip facing out on at least one side. Four-chip-long ones are better, because the "To:" label will be facing outward when these are done.
By the way, I think I might take a rubber stamp to some of these chips or strips with my "corner blog" logo and contact information on them and make myself some cute business cards. I'll let you know if I do!

Then I added the "To:" and "From:" labels, for Stella to fill in when she's home from her first ever sleep-over tomorrow. It is hard to describe in words why I did this like I did this, but basically I want Stella to be able to see who the valentine is addressed to when handing them out in class, so the "To:" goes facing out at one side (these will be closed up before they are delivered). Do you follow?

If I wasn't trying to get this off my plate for the weekend, I'm sure I would've found a cuter way to letter these, by the way!


Next I used a little eraser stamp trick I've seen lately here and here. The difference is, I have a GIANT eraser (and now owe Stella a new giant pencil).


Did you notice the orientation of the heart on the end of the strip? Maybe go back and look again, if you're thinking about doing this yourself. It's easier just to show you than to explain!
The white valentines with the red hearts are my favorites.
When they dry, and after Stella has addressed each one and signed her name, I'm going to fold them together and tie them gently with a piece of mauve or pink string, or maybe some bakery string, if I can get some this weekend. If you end up with some that are only three segments long, you should write the addressee's name in pencil on the blank back of the valentine, so you know who it is going to (the actual "To:" will be folded in, so you can't see it).


With these out of the way for the year, happy weekend to me!


adorable!!!
ReplyDeleteYou are!
DeleteWow! Someone has been busy. Much better than the drug store Valentines. Very cute.
ReplyDeleteThanks, Leslie! You know, it took less than an hour. It's so great because the strips are just ready to be folded, labeled, stamped, and you're done! These are going to be my new gift tags, too. I have so many of them! :)
DeleteThose are SO cute - I ♡ everything about them!
ReplyDeleteThank you, Ann! I'm feeling pretty clever about them!
ReplyDeleteThese paint sample Valentine's are just the cutest! I hope it's okay, I've just finished a Valentine's Crafts round-up and couldn't resist featuring your cute paint sample Valentines. You can see it here:
ReplyDeletehttp://jamiebrock.hubpages.com/hub/10-Easy-and-Inexpensive-Valentines-Day-Craft-Ideas
Thank you for sharing this.. I'm sure many will find this useful for Valentine's Day :)
I think that's great, Jamie! Thank you for sharing and linking it up! I will go check it out right now.
Delete